- Produkte
- Produkte
-
 Aufbewahrung
 - Aufbewahrung
- Wasserbeständig Aufbewahrung
- Extrem robuste Aufbewahrung
- Aufbewahrungsboxen
- Aufbewahrungsboxen
- SmartStore™ Classic
- SmartStore™ Recycled
- SmartStore™ Home
- SmartStore™ Compact
- SmartStore™ Comfort
- SmartStore™ Module
- SmartStore™ Compact Clear
- SmartStore™ Basic
- Bunte & dekorative Aufbewahrung
- Organizer für Aufbewahrungsboxen
- Aufbewahrungskörbe
- Unterbett-Aufbewahrung
- Lunchboxen
- Lunchboxen
- Kühlschrank-Organizer
- Gefrierboxen
- Lebensmittelaufbewahrung aus Glas
- SmartStore™ Compact Clear
- Stapelbare Vorratsdosen
- Sortieren & Recycling
- Küche
- Küche
- Küchenhelfer
- Küchenhelfer
- Messer & Schneidbretter
- Löffel
- Pfannenwender & Küchenzangen
- Schneebesen & Küchensiebe-/seiher
- Küchenhelfer Nylon
- Reiben & Käsehobel
- Schneider, Stampfer und Pressen
- Flaschen- und Dosenöffner
- Besteckkörbe und- ständer
- Weitere Küchenhelfer
- Lunchboxen
- Lunchboxen
- Kühlschrank-Organizer
- Gefrierboxen
- Lebensmittelaufbewahrung aus Glas
- Stapelbare Vorratsdosen
- SmartStore™ Compact
- SmartStore™ Compact Clear
- Backen
- Tischgeschirr
- Pflanzenpflege
- Pflanzenpflege
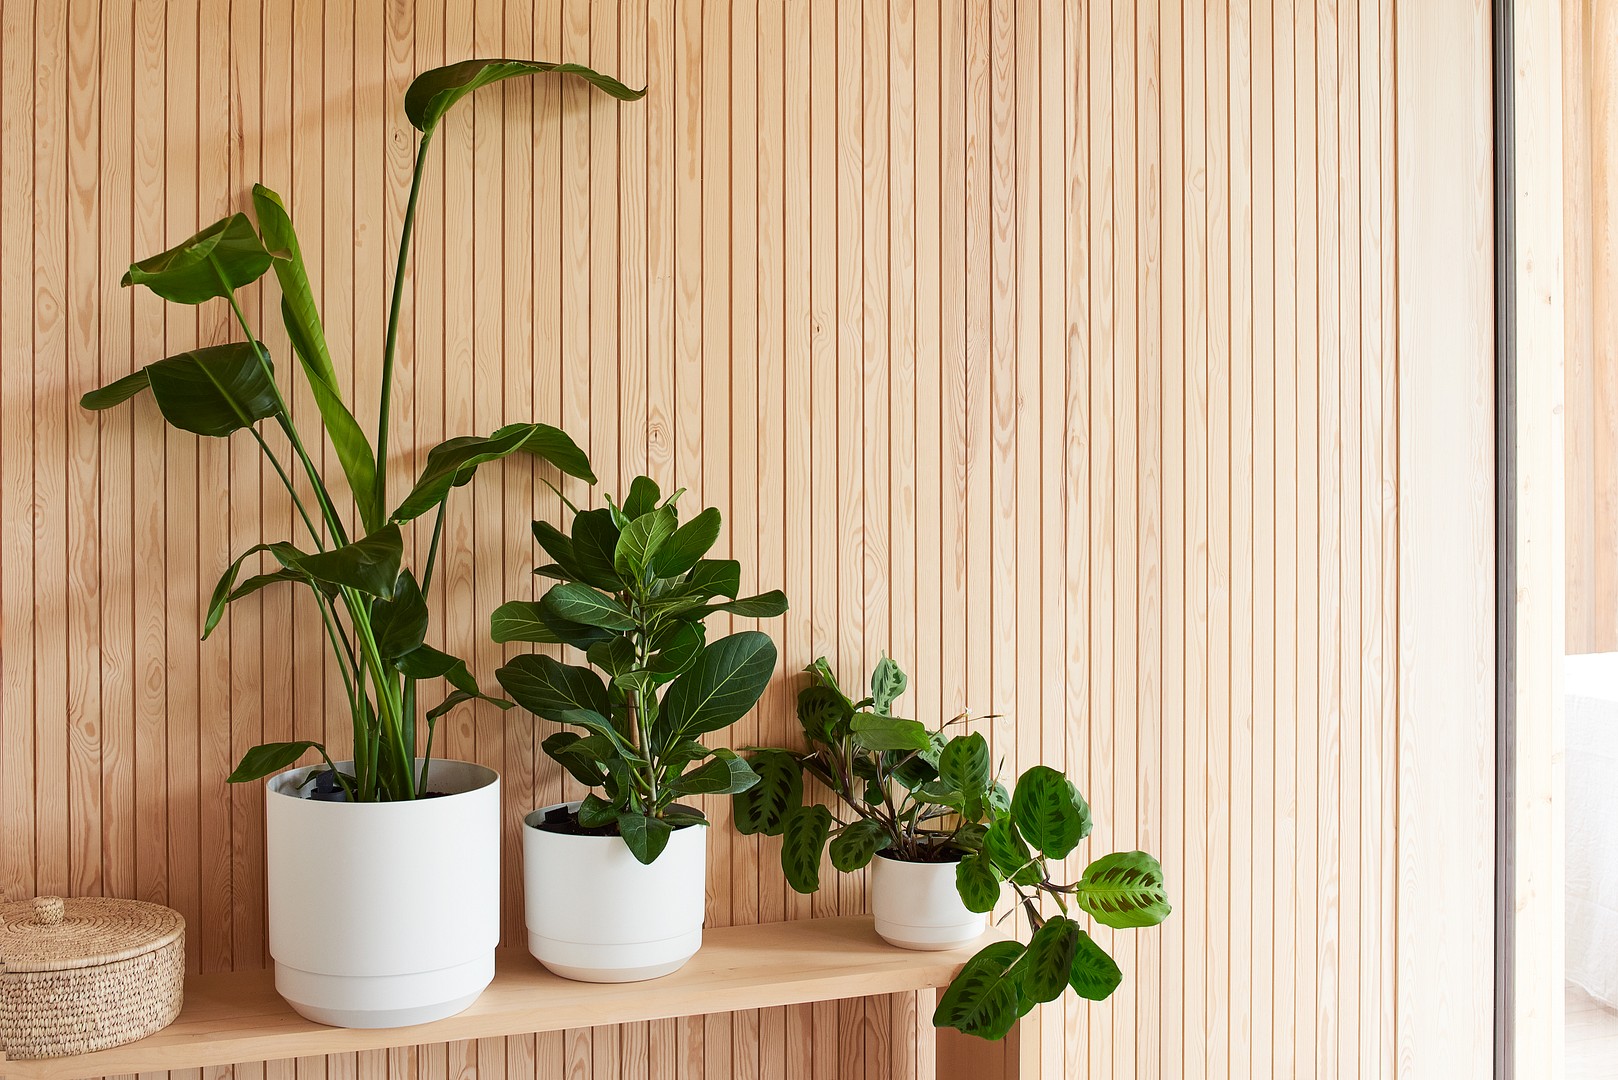
- Blumen-/Pflanztöpfe
- Blumenkästen für Balkon & Fensterbank
- Blumenkästen für Balkon & Fensterbank
- Blumenkästen für Balkon & Fensterbank einfach
- Blumenkästen für Balkon & Fensterbank selbstbewässernd
- Gießkannen
- Sprühflaschen
- Untersetzer Blumen-/Pflanztöpfe
- Haus & Hof
- Marken
- Über Orthex Group
- Über Orthex Group
- Über Orthex Group
- Symbole
- Werdegang
- Wo Ihr unsere Produkte kaufen könnt
- FAQ
- Kontakt aufnehmen
- Nachhaltigkeit
- Nachhaltigkeit
- Nachhaltigkeit bei Orthex
- Nachhaltigkeit bei Orthex
- Nachhaltigkeit bei Orthex
- Nachhaltigkeitsstrategie
- Beurteilung der Wesentlichkeit
- Nachhaltigkeitsmanagement
- Beitrag zu den SDGs
- Nachhaltigkeitsbericht
- Die Umwelt
- Die Umwelt
- Die Umwelt
- CO2-Fußabdruck
- Nachhaltige Rohstoffe
- Nachhaltige Rohstoffe
- Nachhaltige Rohstoffe
- Recycelte Rohstoffe
- Erneuerbare Materialien
- Mass Balance Ansatz
- Forschung und Entwicklung
- Ressourceneffizienz
- Zertifizierungen
- Recycling
- Soziale Verantwortung
- Soziale Verantwortung
- Soziale Verantwortung
- Wohlbefinden der Mitarbeiter
- Produktsicherheit
- Kundenzufriedenheit
- Governance im Bereich Nachhaltigkeit
- Inspiration
- Bilder
- Investors
 Aufbewahrung
  Küche
Küche 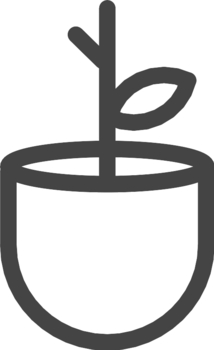 Pflanzenpflege
  Haus & Hof


- Produkte
- Produkte
- Aufbewahrung
- Aufbewahrung
- Wasserbeständig Aufbewahrung
- Extrem robuste Aufbewahrung
- Aufbewahrungsboxen
- Aufbewahrungsboxen
- SmartStore™ Classic
- SmartStore™ Recycled
- SmartStore™ Home
- SmartStore™ Compact
- SmartStore™ Comfort
- SmartStore™ Module
- SmartStore™ Compact Clear
- SmartStore™ Basic
- Bunte & dekorative Aufbewahrung
- Organizer für Aufbewahrungsboxen
- Aufbewahrungskörbe
- Unterbett-Aufbewahrung
- Lunchboxen
- Lunchboxen
- Kühlschrank-Organizer
- Gefrierboxen
- Lebensmittelaufbewahrung aus Glas
- SmartStore™ Compact Clear
- Stapelbare Vorratsdosen
- Sortieren & Recycling
- Küche
- Küche
- Küchenhelfer
- Küchenhelfer
- Messer & Schneidbretter
- Löffel
- Pfannenwender & Küchenzangen
- Schneebesen & Küchensiebe-/seiher
- Küchenhelfer Nylon
- Reiben & Käsehobel
- Schneider, Stampfer und Pressen
- Flaschen- und Dosenöffner
- Besteckkörbe und- ständer
- Weitere Küchenhelfer
- Lunchboxen
- Lunchboxen
- Kühlschrank-Organizer
- Gefrierboxen
- Lebensmittelaufbewahrung aus Glas
- Stapelbare Vorratsdosen
- SmartStore™ Compact
- SmartStore™ Compact Clear
- Backen
- Tischgeschirr
- Pflanzenpflege
- Pflanzenpflege
- Blumen-/Pflanztöpfe
- Blumenkästen für Balkon & Fensterbank
- Blumenkästen für Balkon & Fensterbank
- Blumenkästen für Balkon & Fensterbank einfach
- Blumenkästen für Balkon & Fensterbank selbstbewässernd
- Gießkannen
- Sprühflaschen
- Untersetzer Blumen-/Pflanztöpfe
- Haus & Hof
- Marken
- Über Orthex Group
- Über Orthex Group
- Über Orthex Group
- Symbole
- Werdegang
- Wo Ihr unsere Produkte kaufen könnt
- FAQ
- Kontakt aufnehmen
- Nachhaltigkeit
- Nachhaltigkeit
- Nachhaltigkeit bei Orthex
- Nachhaltigkeit bei Orthex
- Nachhaltigkeit bei Orthex
- Nachhaltigkeitsstrategie
- Beurteilung der Wesentlichkeit
- Nachhaltigkeitsmanagement
- Beitrag zu den SDGs
- Nachhaltigkeitsbericht
- Die Umwelt
- Die Umwelt
- Die Umwelt
- CO2-Fußabdruck
- Nachhaltige Rohstoffe
- Nachhaltige Rohstoffe
- Nachhaltige Rohstoffe
- Recycelte Rohstoffe
- Erneuerbare Materialien
- Mass Balance Ansatz
- Forschung und Entwicklung
- Ressourceneffizienz
- Zertifizierungen
- Recycling
- Soziale Verantwortung
- Soziale Verantwortung
- Soziale Verantwortung
- Wohlbefinden der Mitarbeiter
- Produktsicherheit
- Kundenzufriedenheit
- Governance im Bereich Nachhaltigkeit
- Inspiration
- Bilder
- Investors

Self-watering
Self-watering is easy. The plants get exactly the right amount of water, the measuring stick shows when it’s time to add more and the plants will thrive. An easy way to get greener plants!
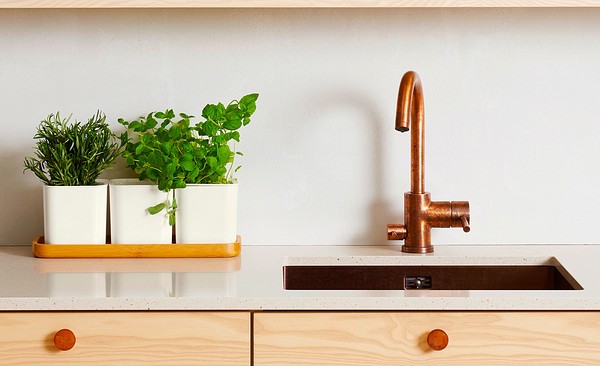
Pots for self-watering are great solution for plants that needs an even infusion of water. The pots make it super easy for you: the plants simply absorb the water they need from the outer pot. The measuring stick lets you know when it’s time to add more water. We have a variety of different pots for self-watering, below you will find a summary of their functions. Keep in mind that a window box with water container is heavier than one without and might therefore need stronger hanging.
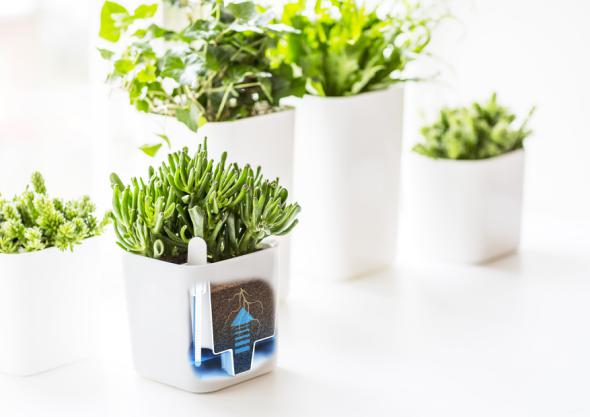
Smart herb pot with self-watering system and extra hydro felt mat, makes the herb absorb water when needed and keeps the store-bought herbs fresh longer. No planting required - the herb can be placed in its original plastic pot directly in the herb pot.
How to use
1. Place the hydro felt mat in the bottom of the pot.
2. Place the bought herb in the Eden pot, no need to remove the plant pot.
3. Water through the pipe. The herb pot can also be used for long-term irrigation of small potted plants. Remove the hydro felt mat, plant the plant, and fill with soil. Water on top of the soil for about eight weeks, until the plant's roots reach down to the water reservoir. Then water through the irrigation pipe when needed
Spacious and practical pot for long-term irrigation with water and soil reservoirs. Clear dipstick shows when it is time to refill water - no risk of overwatering. The dipstick works in the same way as an oil dipstick, you lift it up to see how high the water reaches.
How to use
1. Detach the stick from the bottom of the inner pot and place it in the irrigation pipe
2. Assemble the outer and inner pot
3. Fill the inner pot with soil and plant the plant
4. Water on top of the soil for about eight weeks, until the plant's roots reach the water reservoir. Then water through the irrigation pipe as needed, but never over the maximum limit of the dipstick.
Eden pots are made in Finland from 95% recycled plastic.
Spacious and practical pot for long-term irrigation with water and soil reservoirs. Clear dipstick shows when it is time to refill water - no risk of overwatering. The dipstick works in the same way as an oil dipstick, you lift it up to see how high the water reaches
How to use
1. Attach the irrigation pipe to the base plate and place it inside the pot.
2. Plant the plant directly in the pot, without the original pot. Fill with soil so that the plant stands firmly and ends up at the right level. No leca balls are needed at the bottom, the flower soil should have direct contact with the holes to the water reservoir.
3. Insert the dipstick into the irrigation pipe.
4. Water on top of the soil for about eight weeks, until the plant's roots reach the water reservoir. Then water through the irrigation pipe as needed, but never over the maximum limit of the dipstick.
Paulina pots are made in Finland from 75% recycled plastic.
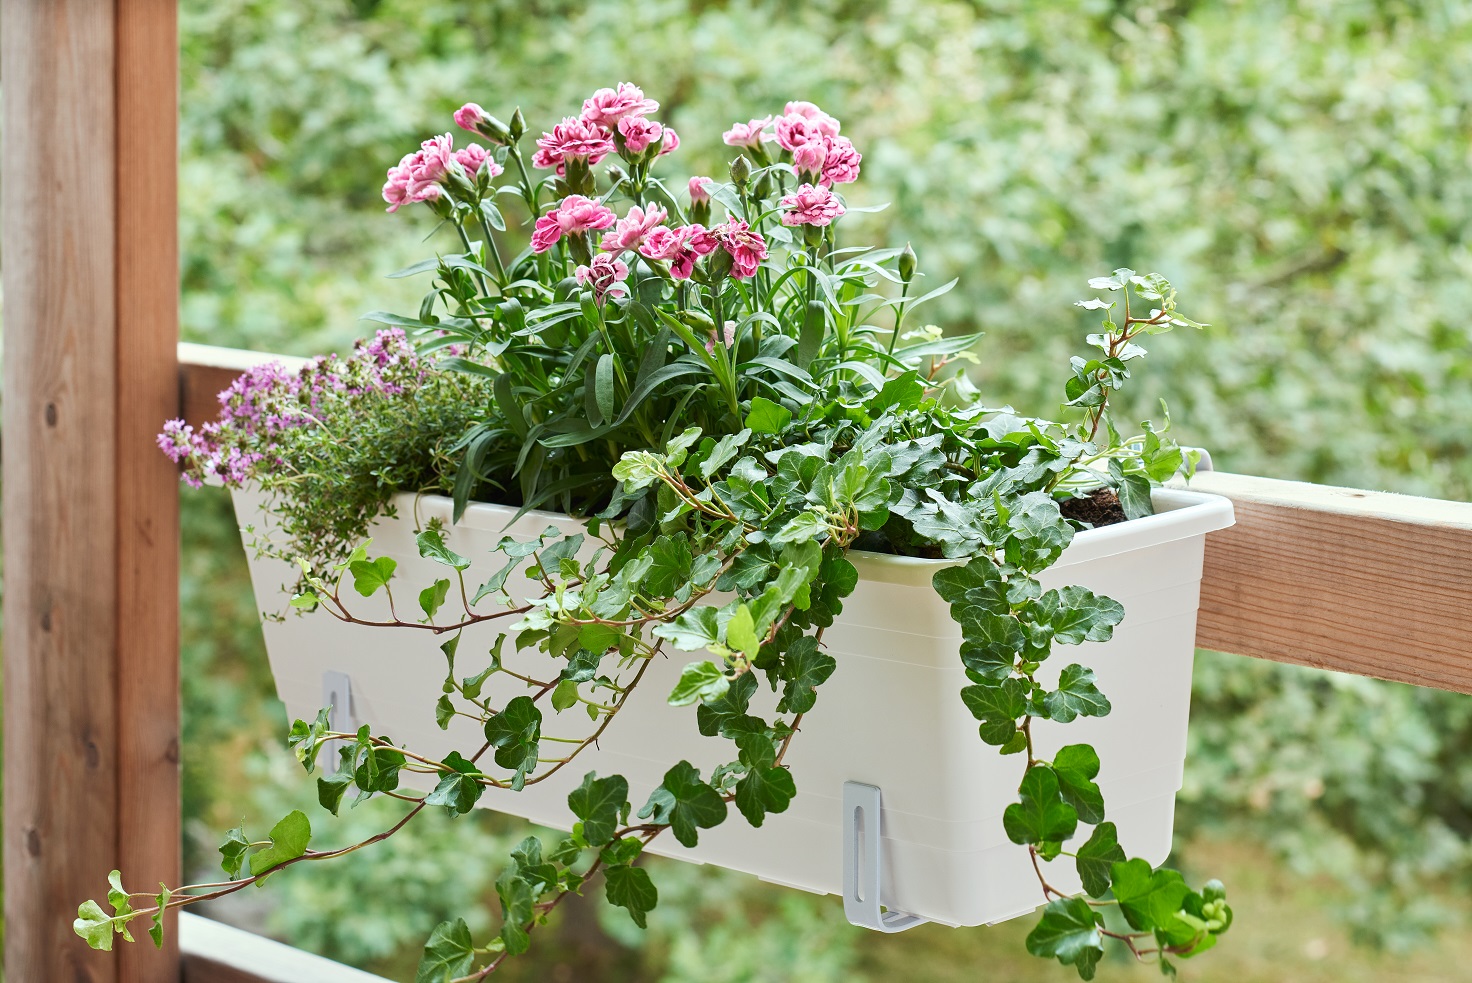
Spacious and practical balcony box with long-term irrigation and large water and soil reservoir. Overfill protection in the box prevents the roots of the plants from standing in water. Clear dipstick shows when it is time to refill water - no risk of overwatering.
How to use
1. If the box is to be placed outdoors, pierce the marks at both ends with a sharp object so that excess water can drain out
2. Place the insert in the box with the flat side up, and with grooves and flanges facing each other. Place the irrigation pipes in the holes in the insert and the dipstick in one of the pipes
3. Cover the bottom with soil, put the plants down and fill with more soil
4. Water on top of the soil for the first time, so that it becomes moist
5. Then water through the irrigation pipe as needed, but never above the maximum limit of the dipstick.
Orthex self-watering window boxes are made in Finland from 95% recycled plastic.